Focus on the Basics First
What are the essentials for building an affordable and professional edit bay to use at home?
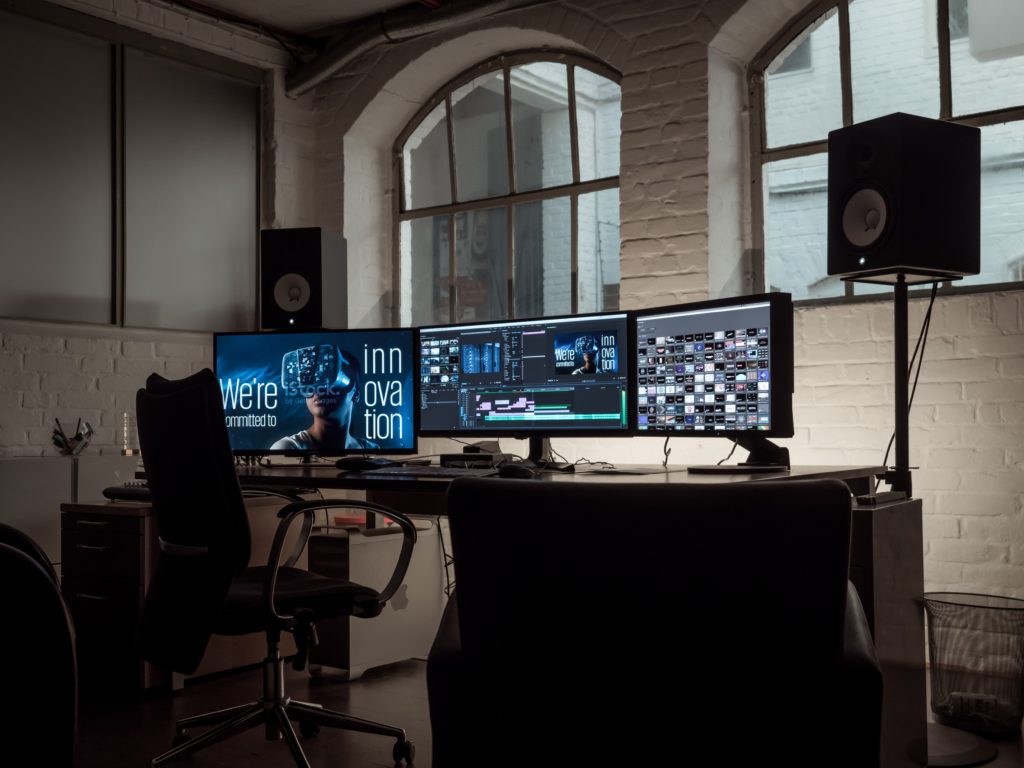
In this post, I will walk you through the most basic way to get started building a professional edit bay for home use.
When editing on our computers, usually we start with thinking about buying better computers, buying expensive monitors, or fast hard drives.
While expensive hardware can be helpful down the road, just getting the basics down is most important when you are starting out.
What You Need

To get started, I’m going to assume that you have these three things somewhere in your house/apartment/condo:
- Computer
- TV
- Headphones / Speakers
In addition to those things, there are a few essential pieces of equipment and software that will get you up and running with video editing.
- A Video Interface with Cables
- A Mixer
- Video Editing Software
The Video Interface
A video interface basically takes data from your computer and converts it to an actual video signal which can be controlled with the editing software.
Why is this important? A video interface allows you to view your timeline on a larger screen, such as a TV monitor, in the correct format.
Your editing timeline should be seen in the same format that you’re editing with, for
By using a video interface, you can view your timeline accurately; how it actually is, not how the computer is interpreting it. You’ll be able to see your timeline in its proper format, frame rate, color space (if your monitor has options for calibration) and compatibility.
If you’re working primarily for the internet, it’s still helpful to be able to see your video on a larger screen. This will enable you to catch any issues with things like scaling, frame rates, or details you might otherwise miss on a smaller screen. You can always use your small screen if you want to see what it will look like online.
It also makes the process very simple. You’re skipping over your computer’s display output by sending video over HDMI. This way your video software controls the format, resolution, and frame rate that is being sent to your TV.
For the cheapest option, Blackmagic Design makes the UltraStudio Mini Monitor which works over Thunderbolt 2 for Macs. If you have a PC with PCIe slots, the DeckLink Mini Monitor will be ideal. Both of these pieces of hardware work with most editing software.
For Macs, connect your UltraStudio to your computer with a Thunderbolt 2 cable. If you only have Thunderbolt 3, you’ll need a T
hunderbolt 3 tothunderbolt 2 convertor. For PC, install your card in a PCIe slot in your computer. Then connect an HDMI cable from the HDMI output of the UltraStudio to an HDMI input on the TV.
*The sync between your computer monitor and your external monitor may be a few frames off when using a video interface. Ideally you should use your external monitor to judge sync and edit with.
The Mixer

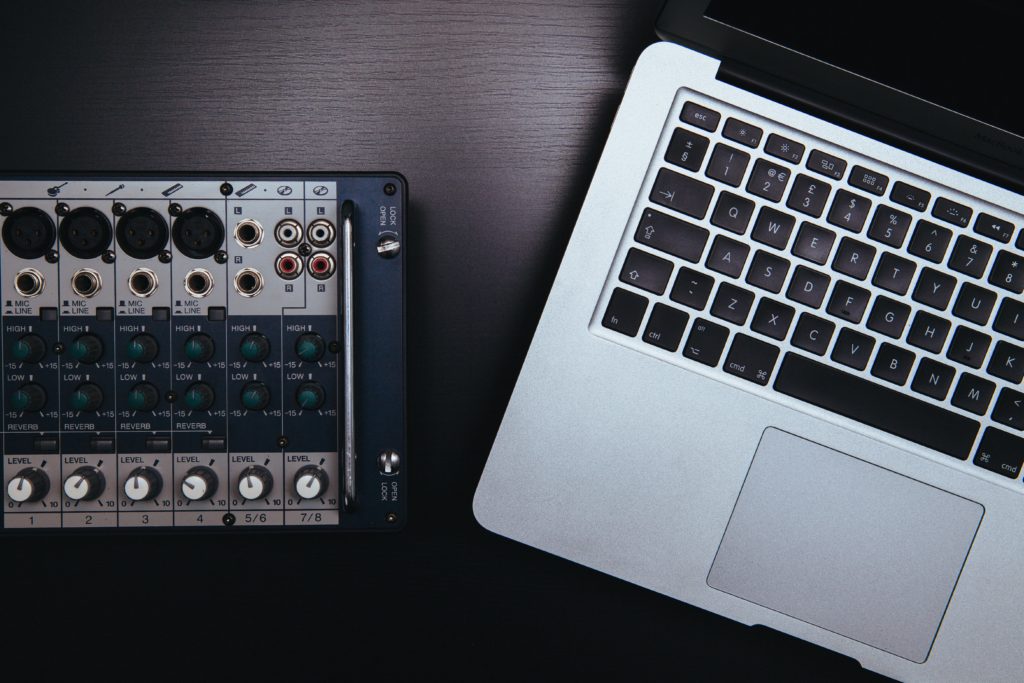
A mixer is a versatile tool for any editor to have. The reason that having a mixer is helpful is that it control inputs and outputs from many sources. For example, when using any kind of external speakers with headphones. Most computers only have one headphone jack.
Mixers are also important when using a video card like the Blackmagic mentioned above. Video AND audio are sent out through the Blackmagic hardware and embedded in the HDMI cable that is sent to the TV.
The Behringer Xenyx 502 Premium will work great as a mixer. It’s affordable and small with very simple knobs and controls.
We’ll use the RCA audio outs, which are the red and white tipped cables, from the TV to the mixer. On the TV we’ll use the audio out. On the mixer plug the cables into the 2-track L & R inputs. Then we can connect our headphones to the mixer to monitor sound.
Using the TV’s audio output will ensure sync between the TV and our headphones or speakers.
You can also use the TV’s audio output to monitor audio or upgrade your speaker setup and run the outputs through the mixer as well.
The Software
For a run down of video editing software, check out this other link below:
I recommend starting with the free version of DaVinci Resolve if you’re just getting started and don’t want to spend any money.
Before using the mini Monitor or Decklink, download Desktop Video from Blackmagic’s site to install the software and drivers that will enable the software to see your hardware. Click on the link below and scroll down to the latest version for your OS in the bottom left corner window.
https://www.blackmagicdesign.com/support/
Once that is installed, there are options within your software to choose the hardware that you have installed.
Equipment Recap

UltraStudio Mini Monitor (Mac) – $145
DeckLink Mini Monitor (PC) – $145
Behringer Xenyx 502 – $49.99
Cables
- 15 ft Stereo RCA cable – $12.39
- 15 ft HDMI cable – $11.00
- Thunderbolt 2 cable – $29.00
*If you don’t have a 1/4″ headphone jack (that’s the bigger one,) you’ll need a convertor to plug in your headphones as well.
3.5mm Stereo Jack to 1/4″ Stereo Plug Adapter – $3.93
Total Cost for Mac: $247.38
Total Cost for PC: $218.38
Do We Really Need This Stuff to Get Started?

Couldn’t we just use our computer and headphones to get started editing? Is there really a need to invest money in hardware?
If money is a big barrier then,
But the purpose of this setup is to ensure that you can start working with other people. You can see your edits on a larger screen, which is a very different experience than trying to edit with a small window on your computer monitor.
It’s really difficult to judge an edit, watch it playback, see potential problem areas, and get an idea of how things are shaping up with a postage stamp-sized screen.
This setup also makes use of things you already have in your house, namely a TV monitor with speakers. Seeing your work on a larger screen will start to give you an idea of what you can do.
This setup is a great first step toward building an edit bay. After you start to get comfortable with these basics, investing in additional hardware like a smaller edit monitor, a fast hard drive and a computer with a beefy CPU/GPU can really help your capabilities. The nice thing about the setup above is that you can build on it as you advance in your knowledge and abilities.
I’ll be creating future blog posts with more advanced edit bay setups in the near future. Stay tuned!

So you’re proposing use of the mixer as a headphone/audio monitor preamp?
The mixer is a way to take an incoming stream of audio and distribute it to speakers or headphones. There are for sure other ways to do it, but for the simplest option with flexibility, I recommend that setup.
Since I use an SDI monitor I’m using an hdmi audio splitter and running the analog output directly to studio monitors.
How do you ride the volume if you’re going directly into the monitors? That’s one thing I like about using a mixer or a big knob even, you can set your reference level without having to mess with anything in the software.
Great Article what brand is the desk? I’m trying to find a good desk for my home work space!
I don’t know which desk it is as this is a stock photo! But check out Sweetwater!